
How To Take Product Photos: Introduction
The world is changing, no longer is a store front always the first point of access that customers get to interact with your product or your business. More often than not, your customers are coming across your product through various social media platforms, your website or ads that you have created to show case your product. Far too often I see people pouring the soul into creating their product, only to fall short when they display it online.
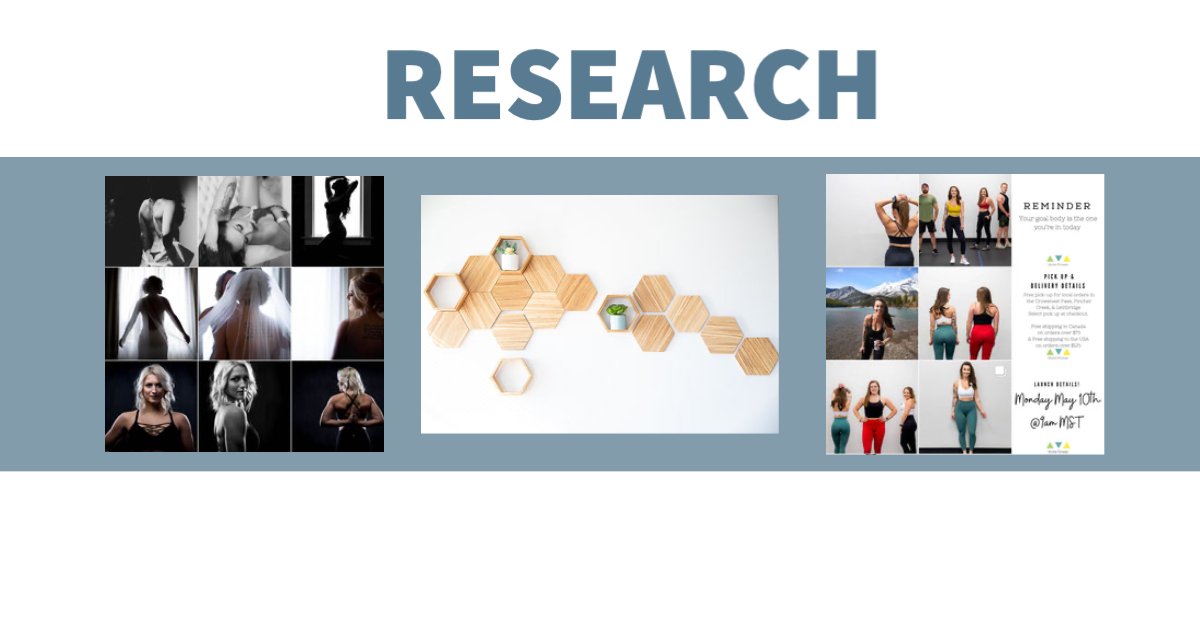
Every brand, website and product have a style to it. Before setting out to take photos of your own product, it is important to do your research and draw some inspiration. What colour schemes do you like, what formats or back grounds stand out to you, do you like the darker high contrast images or the light and airy images? Do you like images that include graphics or words on them? It is very important to develop a lay out of your products that is visually appealing to others as this is often the first point of interaction for your clients with your product. You want your space to showcase your product in the most aesthetically appealing way possible!
Once you have decided what theme you want to use to present your brand, this will help determine how you actually go about TAKING the photos.

This is one of the MOST important aspects for your product photography. Often times people can get intimidated by this concept, but don’t worry, there are some SIMPLE tricks you can use to help you through. Don’t get me wrong, there is a science to lighting and this takes a whole new set of skills and equipment to pull off, but for the purpose of this blog, we can keep it simple! The best lighting to use is actually natural light! This can be done by setting up right next to the window or outside on a sunny day. A good rule of thumb for any photography is to work WITH the light. This means working during times of days when the light is softest. There is a reason why it is called the golden hour! Try to aim for light that does not fall directly above, but rather slightly behind. If you are looking for the very bright, white and crisp photos, you will want to choose a location where there is a lot of natural light to work with. If you are looking for something darker and moodier, then you will choose a time of day when the light isn’t as strong.
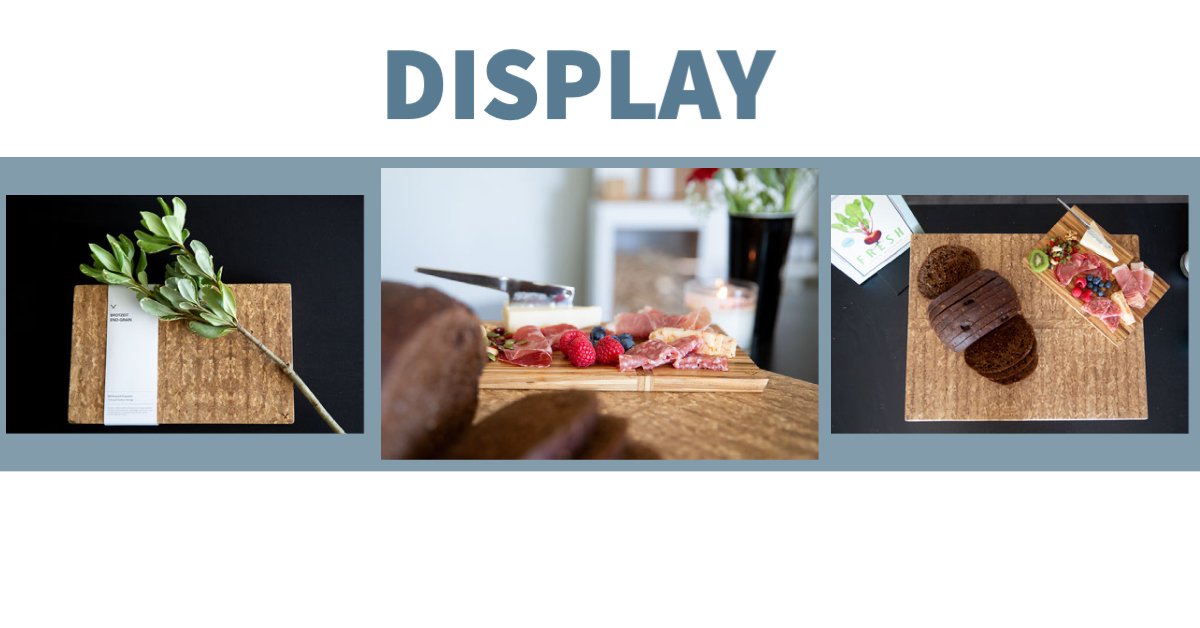
After completing your research, you are going to be able to determine what kind of theme you want for your feed. This will help you determine what display you are going to want for your photos. Some people like to have a nature background, offering rustic natural colours and textures as the background. Other’s like to have a clear, crisp lay out that can be easily replicated. In terms of background, you can easily set up with a fence, tree, plant, wall or table as the background. You can also create a “photo box” for capturing your product. This can be done very cost effective by purchasing foam board from the dollar store and some scrap book paper to cover it. I generally like to go for light backgrounds with little distractions to take away from the product. Next you need to determine HOW you would like to capture your product. Is your product something that would look good as a “flat lay”, or does it need to be propped up?

Sometimes using props can help spice the photo up and help it tell a story about your product. It’s important though to keep probs minimal in the photos, you don’t want to take away from the actual product. This can look like using a rough stone to place jewelry on creating texture and layering for the photo. Or placing food items on a cutting board which can showcase exactly how the item could be used in the future. It could also include adding some greenery to the photo or some flowers. Again, it’s important not to take away from your product, but to merely ADD to it.

There is absolutely NOTHING worse than a photo that is out of focus. Not only because it is not aesthetically appealing, but it also PSYCHOLOGICALLY confuses the brain! Let’s be real here, a confused brain is not going to purchase a product. So, if there is anything you take away from this blog, please let it be to KEEP YOUR PHOTOS IN FOCUS! Now, that’s not to say that you can’t get creative with focus on your photos, especially if you gave a camera that allows you to play with depth of field a little bit more.
PLACEMENT
Staying focused and placement within the photo go hand in hand. Any introduction photography course will teach you about the rule of thirds, and this is the best rule to follow when you are lining up the focal point of your shot. The rule of thirds can be explained as an imaginary 3X3 grid that is placed over your photo. Ideally you want to line the focus of your photo along one of the intersecting lines. Many people take their photos with the focus point or the product right smack dab in the middle, but to create and image that is eye catching and will hold the clients gaze, you can use the rule of thirds and place the product slightly left or slightly right.

Once you have found something that works for you, stick with it. A lot of product photography takes some trial and error to find out exactly what it is you want to display on your website/social media page. But once you have nailed down a routine, there is no sense trying to reinvent the wheel. Remember how you captured the images you liked and maybe take a couple of notes to help you remember such as what time of day you shot (to account for the light), how you set up the backdrop, what props you used, and if you are using a device that can alter settings, what settings you used.
LASTLY, KNOW YOUR LIMITS
There is a lot you can do with just a cell phone or a basic camera to help you out with product photos. You do NOT need to go out and buy an expensive camera to accomplish what you want for your site! There are some things that a professional camera can offer that a cell phone cannot, such as depth of field, the ability to capture images in high resolution, gathering more information in the photo that can be used later for editing purposes, etc. But for a basic product lay, you can get away with what you have!
Okay, so I threw a lot of information at you, in the form of words. If you are anything like me and you do much better with visual learning, no fret! This is the most basic version of what is covered in my online coaching classes offered! If you are interested in booking a coaching class please send me an email and we can meet for a free consultation to see if this coaching session is a right fit for you!